
- How Should Drill into Stud? Step-by-Step Guide
- Is it Possible to Drill a Screw Directly Into a Stud?
- Are You Going Through a Stud as You Drill? (Here's How to Tell…)
- Making Holes in Metal Studs Using a Drill:
- Can Metal Studs Be Screwed Into Directly Instead of Drilling Holes?
- Is it Possible to Drill into a Stud When it is above an Outlet?
- Frequently Asked Questions:
- Bottom Line:
Drilling into studs doesn’t have to be tricky; with the right tools, patience, and technique, anyone can master this handy skill quickly! Whether you’re hanging shelves, mounting light fixtures, or any project that involves drilling into a wall – the key is knowing how to safely and effectively drill into a stud without causing any damage.
In this blog post, we’ll take an in-depth look at how to drill into a stud for your DIY home improvement projects so that you can gain confidence in getting it done right each time.
How Should Drill into Stud? Step-by-Step Guide
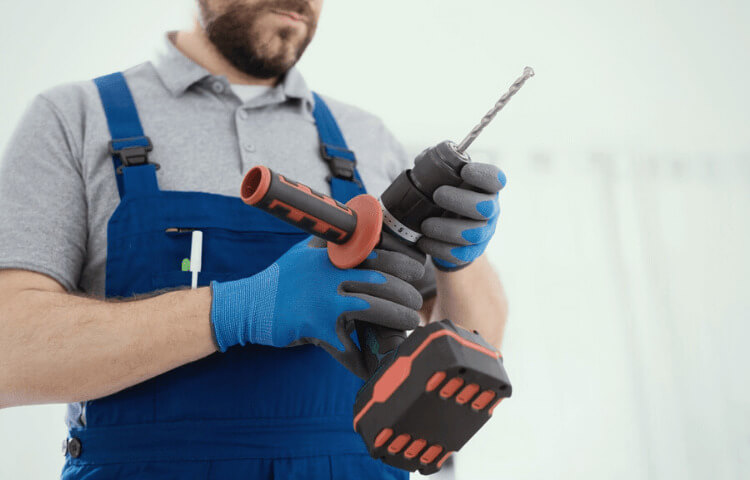
Step 1: Putting Together All of Your Resources

Drilling must be done correctly to create holes through a metallic stud. You will need a bit that can be used for various tasks and is durable, preferably composed of cobalt or titanium. They feature a projecting part with an angle of 118 degrees and expand out as it is extended.
The drill attachments are available in a variety of forms and dimensions. They are also intended to function in a variety of various ways. The twist drill bits are the bits that are used the most frequently. They are made with the express purpose of drilling standard-sized holes into different materials. It can create boreholes in studs made of metal and wood.
Another type of bit used to drill considerable holes in wood is a Forstner bit. Spade bits are capable of working very quickly, and they can also bore quite huge holes. The holes a saw bit can make are huge and may be utilised on metal and wood.
It is best to use a wood twist drill bit when working with hardwood studs since it has a midpoint that makes it easier to position the drill in the middle of the piece and keeps the drill bit in a straight position. In addition, using a tapered drill bit helps prevent the wood used to manufacture the stud from breaking.
In addition to the drill and the various bits, several pieces of equipment and components of the material will be necessary to do the work.
In most cases, you will require the following:
- The wall is made of studs
- Drill a hole in which to secure a bit.
- batteries for use in drills that do not require an electrical connection.
- pencil.
- Oil used for lubrication
- Drill bit, especially one with a twist.
- screws.
- Use a tape measure to determine the distance between the two studs.
- The drill’s source of electrical power.
- Wearing a dust mask and goggles while drilling will protect you from the dust and stones created.
Step 2: Protective Measures and Caution

It is possible to injure yourself when using some of these instruments. Be sure that you are operating in a setting that is risk-free at all times. Wearing goggles and a dust mask together will protect your eyes from wood dust and metal particles.
This ensures that you can continue working for an extended period, simplifies your task, and helps you avoid incidents that could have been avoided.
Make sure you know what is behind the walls before beginning any work on them; one potential hazard is drilling through a wall and accidentally contacting a power cable with the drill, which can result in an electric shock.
The second possibility is that they may dig through a water pipe, which will result. There is also the possibility of a gas pipe in the drilling path.
Read the handbook with the equipment to better understand how the drill bit functions. The equipment will last much longer if the user knows its components and applies that knowledge appropriately. While working on the task, remember that it is always preferable to err on the side of caution and be cautious rather than regret anything afterward.
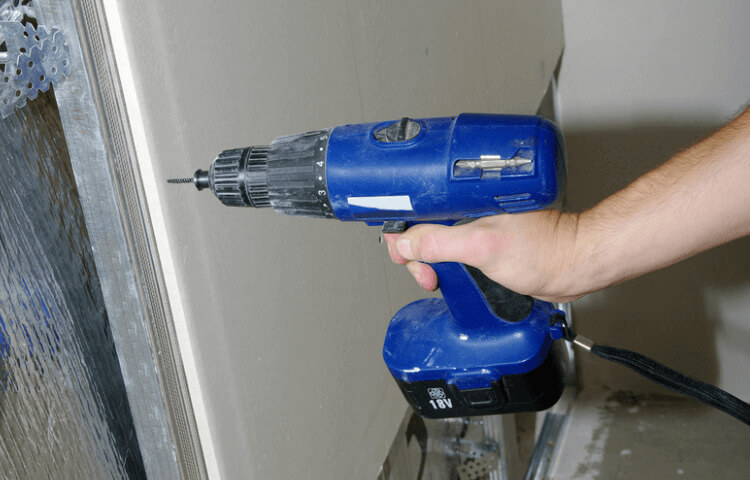
Step 3: Getting Ready for Your Drill
It is possible to drill wood and metal studs using a metal drill with a twisted drill bit attached to it. This allows for greater versatility. When the bit is linked to a power source, check that the speed at which it rotates is controlled to a low setting.
Determine the hole size you want to drill, and then select the appropriate bit to utilize for the job. The bit should be able to slip in without any difficulty into the very end of the drill.
It is imperative that the bit be sharpened, as drilling with a dull bit will demand you to exert a more significant amount of force. In the end, this might result in the pieces breaking and bodily damage to those involved. To prevent the rubbing that might damage the equipment, grease the locations where the bit will attach to the drill.
Test out the drill by first hooking it up to some power supply. Investigate any signs of irregularity. You must ensure the batteries are fully charged to get the most out of a drill powered by batteries. You may need to adjust the speed setting, but it is drilling in the intended direction.
Step 4: Determine the stud’s Location and then mark the Area

Finding a stud behind a wall may be done in several different ways. Nevertheless, the least difficult ones are employing stud finders and physically finding studs by pounding the wall.
Using stud finders, little electrical devices that run along walls to discover studs swiftly is the most straightforward method for finding studs.
You will need to make a mental note of the height at which you will begin searching for the stud; then, you will need to place the stud finder against the wall and slide it over the surface, angling it to the left and right. When it detects a stud along the wall, it makes a beeping sound or flashes a light.
Tapping the wall is another trustworthy and uncomplicated approach; it is a guaranteed way to determine that you are not drilling through the drywall. If you tap the wall, you will hear a hollow sound. When the room is silent, give the wall a light knock down its length with your knuckles; drywall will generate a hollow sound, whereas studs will echo out a solid sound.
When you run a strong rare earth magnet down the wall, the magnet will get caught anywhere there is a metal stud; this is a fantastic approach to locating metal studs.
After you have successfully located the stud, take some notes using a pencil regarding its sides and its beginning and end. Wall studs are typically between 16 and 24 inches apart and have a width of around 2 inches.
Step 5: Get the Drill Started
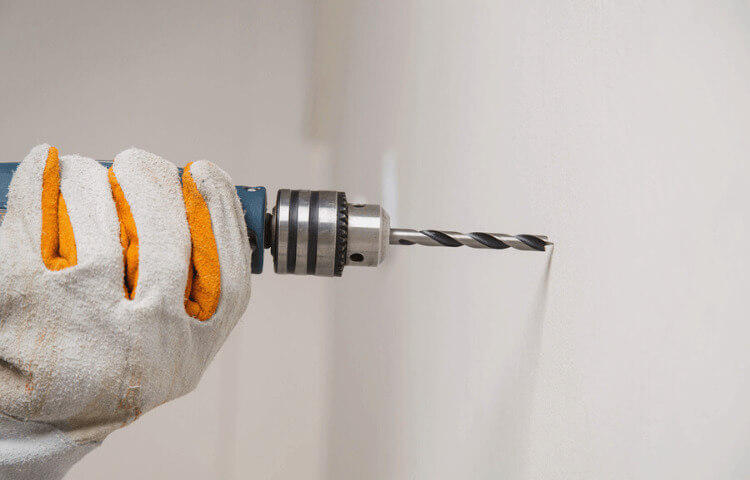
After finding and marking the stud’s position, the following step is to begin the drilling operation itself. Turn on the drill after ensuring it is connected to a power supply. While retaining tight control of the drill with one hand, direct the tip of the bit to the location that has been indicated.
Start by drilling a test hole; this is done to demonstrate that the stud, and not the drywall, will be guided through in the future. While the screw is still in the test hole, focus the drill on confirming that it is inserted in a straight line.
Put some effort into it while ensuring the screw is inserted perfectly straight into the test hole. When you are satisfied that the screw has been securely fastened to the wall, pull your hand back and apply pressure to the underside of the drill. Compared to metal studs, the use of wood often requires much less energy. However, this does depend on the type of wood.
After you’ve been using the drill for a while, make sure to wipe it off with some cold water to control the amount of heat the drill creates. When drilling through hard materials, this is a significant consideration.
The screw shouldn’t go all the way into the wall; if it does, you won’t be able to hang whatever it was that you would put up on the wall.
Is it Possible to Drill a Screw Directly Into a Stud?
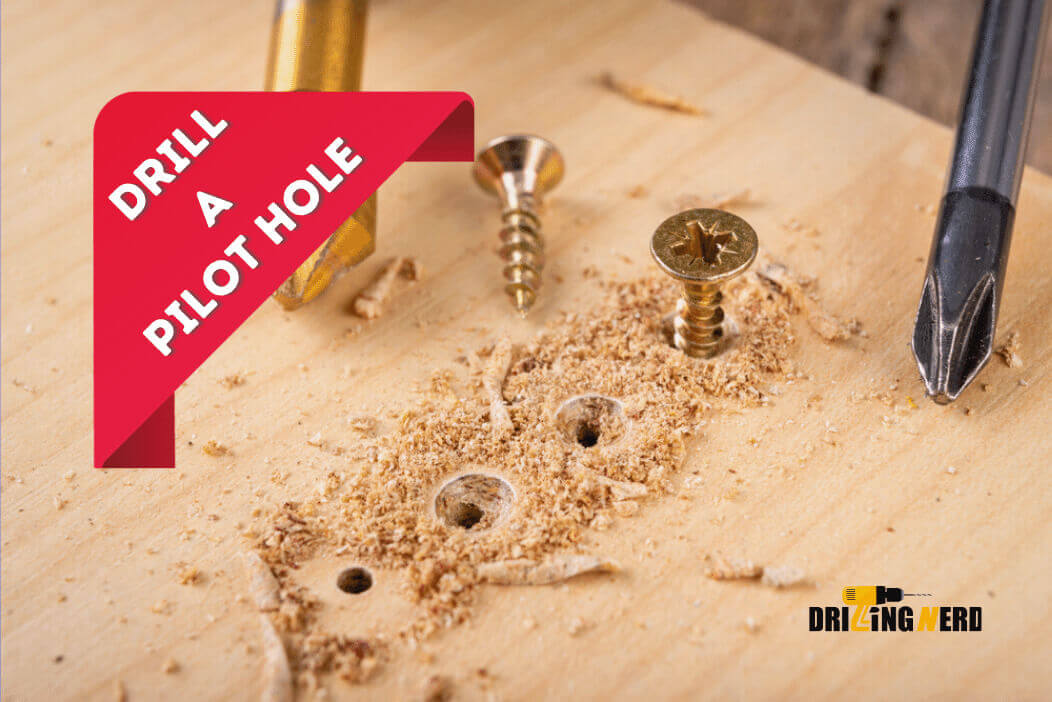
The straightforward answer to this question is yes; however, it is not suggested. Instead, it is usually always advisable to drill a pilot hole using a tiny and short bit.
This will assist in guaranteeing that the screw is easy to insert and that you do not touch any electrical lines while working inside the wall. Because electrical wires are often carried through the center of a stud, you must not drill or screw more than one inch into a stud.
If you miss the stud when putting the screw straight in, it is much simpler and quicker to fix a tiny pilot hole if you drill it first instead of running the screw straight in. This is another benefit of drilling a pilot hole before passing the screw.
Are You Going Through a Stud as You Drill? (Here’s How to Tell…)
Applying constant pressure while drilling into a wall is the best technique to ensure that you hit a stud; if you don’t, the drill bit will simply pop through the wall.
If you miss the stud, you can notice immediately when you take the bit out and may even be able to adjust the bit vertically or laterally.
Now, while drilling into a metal stud, you should feel some resistance before the bit finally pops through the surface—but only if you’re using a drill bit designed for metal; if you’re using a wood bit, you might not be able to get through the stud at all.
Even if you use the appropriate bit, you could have trouble penetrating the material because you are striking a nail plate.
To prevent you from accidentally drilling into electric wires, a nail plate is a metal plate that has been nailed to a stud. It is more robust than a metal stud, and you will not be able to drill through it without encountering significant resistance; nevertheless, we shall discuss this topic in greater detail.
You have probably drilled into the stud if you have been exerting constant pressure on the drill bit or encountered resistance before finally breaking through. When you pull the drill bit out of the wall, you may see that it has wood or metal shavings.
Making Holes in Metal Studs Using a Drill:
You can, without a doubt, drill into metal studs; however, you might need a very low-end drill since appropriate metal drilling bits are an absolute requirement; bits designed for drilling wood cannot be used.
Metal drilling bits, which are far more durable than wood bits, are often crafted from cobalt or titanium and include a sharp tip that flares out at an angle of 118 degrees for a multi-purpose metal bit or 135 degrees for a boring metal bit.
You may use a stud detector or a measuring tape to locate the stud, and since most studs are spaced 16 inches on the center from either corner, you should use a drill bit that is as short as possible to avoid damaging the outer wall or the stud.
Because all that is required is simply pushing the comparatively thin metal stud, the shorter the screw, the better. The following step you take will be determined by the method of anchoring and the kind of anchor you want to utilize for your project.
Can Metal Studs Be Screwed Into Directly Instead of Drilling Holes?
Using self-tapping screws, such as these, it is possible to screw straight into a metal stud; however, I believe that first drilling a pilot hole is a superior alternative and will make the process more straightforward over time.
Drilling through an outside wall makes it more challenging and possible to strip or excessively tighten the screw head or perhaps break the screw head entirely off. Self-tapping screws are a suitable alternative for tapping straight into an uncovered stud.
If you’re nearing the conclusion of a project that requires many screws and one of those screws breaks off at the end, you’ll have to take the mounting bracket apart again to tap out the broken screw, which can rapidly put a damper on your day.
Is it Possible to Drill into a Stud When it is above an Outlet?
Because it is uncommon for a stud to be located immediately above an outlet, wires can be carried vertically along the stud. In most cases, an outlet is hooked to either side of a stud or the other.
So, using a stud detector or a tape measure, locate the stud’s location relative to the outlet, then drill carefully into the stud, keeping in mind that you will encounter resistance the entire way through a wood stud; if you don’t, you should stop drilling quickly.
Frequently Asked Questions:
Bottom Line:
If you’re ever in a situation where you need to drill into a stud, now you know how! With the right tools and some patience, anyone can do it. Just make sure to take all the necessary safety precautions before getting started. And if you still don’t feel comfortable doing it yourself, there’s no shame in calling a professional.


