- What You Need to Know Before Drilling Glass:
- Things You will need to Drill in Glass:
- Step by Step Guide to Drill a Hole in Glass:
- How to Make a Hole in Tempered Glass Using a Drill?
- Drilling a Hole in a Glass: Some Tips and Tricks
- Is it Possible to Drill a Hole through Glass without Breaking it?
- Frequently Asked Questions:
- Bottom Line:
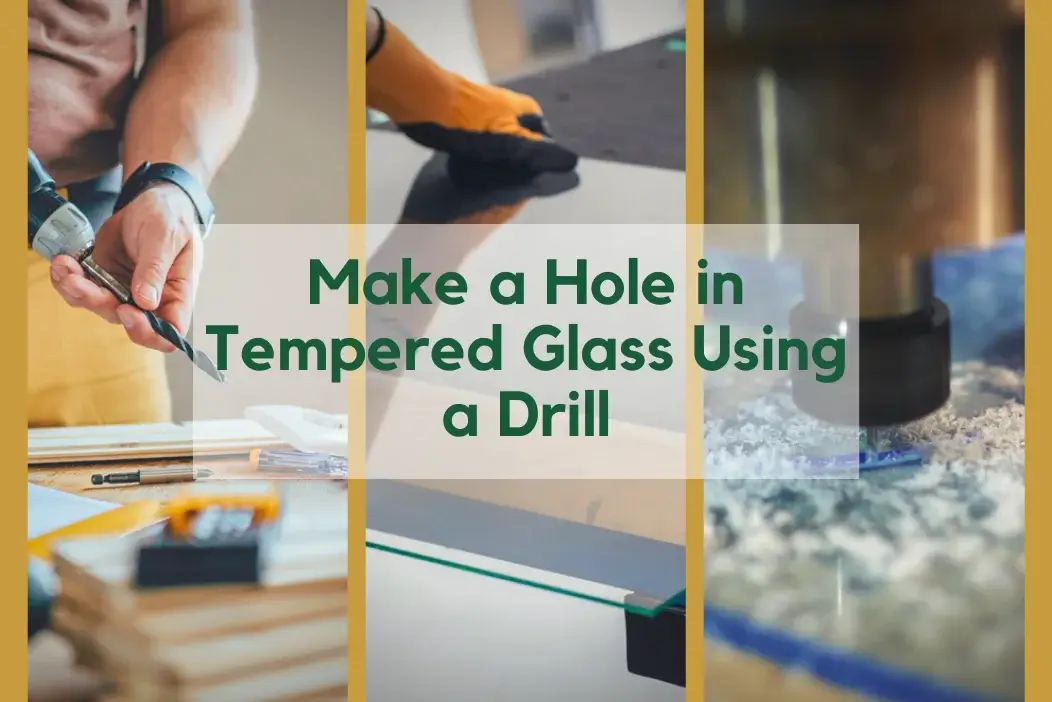
When it comes to DIY projects, there are some things that every DIY enthusiast, and drilling a hole in glass is one of those things. A patient and sensitive touch and the proper instruments are required when drilling a hole in the glass.
Creating a hole in a piece of glass might be difficult. Not only do you run the risk of cracking the glass, but you also run the risk of getting hurt. However, many DIY tasks and crafts necessitate the mastery of this technique, and whether you’re mounting a frameless mirror or making a bespoke lampshade, you’ll be pleased you did once you do.
Even though most of us have an excellent concept for a DIY project, we seldom follow through on it because we don’t know where to begin. I’m going to walk you through the process of drilling a hole in glass step by step. It’s quite simple and quick! If you’re interested in learning more about this topic, continue reading below.
What You Need to Know Before Drilling Glass:

Before you pick up the Drill, make sure you read these suggestions:
- Drill Bits:
Drill bits designed for glass, slate, and other hard surfaces include carbide or diamond tips that are spear-shaped in form. They are available in several different sizes. Purchase a little one, about 1/8-3/32-inch in diameter, to use as a starting point for the holes and many others in the sizes you desire to construct.
- Drilling Speed:
Drilling into the glass too fast might result in heat generation, which can destroy the bit. Check the parameters on your varying speed drill to see whether it has a wide range of speeds. Something along the lines of “0-1500 rpm” should be on the label. With the trigger completely depressed, it will revolve at a rate of 1,500 rotations per minute.
Only half-squeezing the trigger leads it to revolve at 750 pm. Release the clutch a little further, and you’ll have 375 rpm on the clock. After some practice, you’ll soon be able to determine the speed of the Drill by listening to its motor and feeling how it feels in your hand.
- Lubrications:
Experts advocate putting a couple of drops of lubricating oil to the glass when drilling to reduce the buildup of heat and dust throughout the process. Any form of oil will do the trick here. For vertical surfaces, a small amount of plumber’s putty or modeling clay might be used to prevent the oil from dripping.
- Safety Precautions:
Make sure the glass is securely fastened so that it does not move about. Place a pane of glass on a flat, cushioned surface, such as a rubber pad. Alternatively, use a vise to hold a bottle or other circular object to the worktop using a clamp. Wearing protective gear during drilling is also recommended.
- Practice your Work:
Because practice makes perfect, consider drilling a few practice holes in a piece of glass that is comparable to the project you’re working on to get some experience. Furthermore, never attempt to drill through tempered or safety glass. It’s intended to shatter upon hit with a hard surface.
You can detect the differences between tempered glass and annealing glass, often known as normal plate glass, by performing the following tests:
The edges of tempered glass are smooth and equal. Other types of glass have rough edges that are uncomfortable to touch.
- When tempered glass is examined in the sunshine through polarized glasses, black streaks may be seen on the surface.
- When you examine tempered glass attentively, you will see minor defects.
- It is scoring on annealed glass results in a crisp line that is easy to see. Scratching leaves flakes and lumps on tempered wood.
- If you have a whole sheet of glass, look for a little stamp in the corners that shows that the glass has been tempered.
Things You will need to Drill in Glass:

The process of drilling a hole in glass may be accomplished with a standard electric drill if the proper drill bit is utilized. The key to drilling glass is to utilize a material that is stronger than the glass itself; however, there are a few items that you will need before you begin drilling into glass:
Buy or Utilize a Drill you Already Own:
If you already have a power drill at home, you can most likely use it instead. Alternatively, you may purchase a regular power drill from most home improvement stores.
- Drilling a hole in the glass does not necessitate using a specific drill; rather, it necessitates using the appropriate drill bit.
- When drilling a hole in a piece of glass, it’s crucial not to utilize the Drill’s maximum power or peak speed. You may break the glass. Instead of drilling a hole in the glass, think of the drilling process as if you were steadily cutting away at the glass. Find the speed dial on your Drill and turn it down to a more appropriate setting.
Select the Correct Drill Bit:
- It is necessary to have a drill bit specifically designed for drilling through the glass to drill a hole in it. This is quite crucial; you cannot just pick any old piece of wood you happen to have to lie around.
- Consult with a representative from your local hardware shop, who will ensure that you acquire the correct one. Glass drill bits are very common. You can get them from a variety of sources, including the internet.
- One option is to use a carbide bit that is specifically designed for drilling glass and tile. Bits manufactured of carbide have a spade-shaped tip and are designed to endure friction while drilling through glass or tile surfaces.
- Carbide bits are available at a variety of home improvement stores. Walk over to the section where drill bits are sold and inquire with a salesperson. One problem with low-cost components, though, is that they can get dull or even shatter quickly.
Go for a Diamond Drill Bit:
- Diamond drill bits are capable of drilling holes up to a quarter-inch in diameter and beyond. You have the option of using a rounded end or a core bit. The use of diamond bits will result in a smoother finished product. Diamond bits are the industry standard for glass drilling because they can drill several holes with a single bit and cause little damage when used properly.
- If you need to drill very small holes, a small diamond drill bit with a hard, flat end, or tip, is the best option. These are available in extremely small sizes, with some as little as 0.75 mm in diameter.
- A diamond grit hole saw is another option you may consider. You will want an auto-start fast change mandrel tool to do this task. These components are designed to fit on your Drill. To make the first hole in the glass, insert the mandrel into the Drill and drill through it. Then, using the mandrel to create a hole in the drill bit, insert the saw into the hole you just made. Drill a hole all the way through.
Step by Step Guide to Drill a Hole in Glass:
Drilling through glass is quite dangerous. Wearing protective goggles, gloves, and a face shield at all times is recommended. Now, let’s learn how to drill a hole in a piece of glass:
- Preparation of the Glass:
To give the plywood some cushioning, you can line it with paper or an unused sheet. Put the glass over the wood to secure it. Then, in an X pattern, apply two pieces of masking tape over the region where you want the hole to be created. Make a mark on the ground where you wish to drill with a pen to indicate the location.
- Prepare the Drill for Use:
Using a power drill chuck, insert the spear point drill bit with a carbide or diamond tip that is one-eighth inch long. Start with little holes since they are more effective at creating starting holes. Make sure you have your safety goggles and face mask on.
- Start by Drilling a Starter Hole:
Gradually start drilling on the designated place with speed set to 400 RPM and the drill bit. Put a few drops of lube oil on the drill bit to assist it in moving without becoming stuck. As the bit cuts out the beginning hole, apply little pressure to the bit. Maintain in mind to keep the glass moist at all times.
- Increase the size of the Drill Bit:
After you’ve finished drilling the pilot hole, you may remove the masking tape and proceed up to a bigger drill bit. Maintain a constant speed of 400 RPM and constant air pressure. Using a can of compressed air, blow away any remaining glass dust regularly.
- Reduce the Amount of Pressure:
Remove some pressure and maintain a 400 RPM speed until you have reached three-quarters of the way. If you apply too much pressure, the glass will fracture. Additionally, you run the danger of heating the glass particles, which might harm your drill bit.
- Make a thorough Cleaning of the Hole:
Once you have reached the opposite side of the glass and have exited the hole, carefully remove the Drill. Remove any rough spots that may be present by filing them away with the diamond file. Remove any leftover residue by rinsing thoroughly with cold water.
How to Make a Hole in Tempered Glass Using a Drill?

Because tempered glass has been heat-treated and is thick, the likelihood of its shattering increases significantly. Let’s take a look at how you might succeed where so many others have failed:
- Set the Drill’s Rotational Speed:
Drill in the drill bit until it is 1/2 inch long or one inch long, then set the speed control to r / min if the bit is 1/2 inch long or 500 RPM if it is 1 inch long. According to the manufacturer, for a 2-inch-long bit, the velocity should be 250 RPM, and if the bit is larger than that, the frequency should be 160 RPM. The length of the drill bit determines the speed of the Drill.
- Position the Glass in the Desired Position:
Lay the glass down on the plywood and paper, then use rubber clamps to hold it in place while installed. A thin circle of clay should be placed about an inch away from where the hole will be made. Lift the Drill and position the bit at a 45-degree angle on the glass surface.
- Start the Drilling Process:
Keep the area moist at all times. This prevents the glass from heating up and breaking and extends the life of the drill bit. Gradually reduce the angle of the Drill until it is 90 degrees or more. Once you’ve made it through the other side, use a diamond file to smooth down any rough edges.
Drilling a Hole in a Glass: Some Tips and Tricks
- Maintain the temperature of the glass at all times.
- When it comes to keeping glass cold, continuous running water, similar to that of a wet tile saw, is preferable to compressed air—the water aids in the containment of the flying glass particles.
- A hand drill may be used to drill holes in curved glass. However, if you have access to a drill press, this will make the process much simpler.
- Always proceed with caution when doing the Drill.
- Breakage happens when you drill too quickly, switch from hot to cold (or vice versa) too soon, or fail to provide adequate back support.
- Certain forms of thinner glass are difficult to drill and are prone to breaking.
- While submerged in water, it is possible to drill small things.
Is it Possible to Drill a Hole through Glass without Breaking it?
You’ll need the correct equipment if you want to drill a hole into the glass without shattering it. Particularly a carbide-coated drill bit or a diamond-coated drill bit must be of the spear-tipped form or a hollowed diamond-coated tile and glass bit with a diamond coating.
These specialized bits scrape tiny sections off the glass rather than gouging out huge chunks, resulting in a clean finish on the surface of the glass. The other important step in drilling holes in glass is to keep the area moist by spraying it with water from a spray bottle.
Frequently Asked Questions:
Bottom Line:
Cutting a hole in glass is straightforward, but only if the procedure is followed correctly. A hard drill bit is very necessary, and this is the most crucial thing to remember. Being patient, cutting carefully, and spraying water, oil, or lubricant to minimize overheating are vital considerations.


