
If you are a plant lover like me and are wondering about a drainage hole in your perfect pot, you are at the right place. Drilling a hole in a pot is easier than you think.
If you have beautiful plants and pots but no drainage hole, your plant can’t grow perfectly and may be ruined.
Last week I ordered some online plants that will be coming soon. So I am super excited to get this plant; that’s why I bought three ceramic pots a few days ago, but these pots have no drainage holes. So I decided to try practicing drilling a hole in a ceramic pot. What would happen if I cracked all three ceramic vases? I wondered.
But in the end, I succeeded and got the drainage hole in all my three pots for my beautiful plants.
Why is it Vital for the Plant to Have Drainage Holes?
All plants have different needs, but the exact requirement is that no plant wants soggy roots. When you water the plant, the water normally sinks to the bottom of the vase. Water left standing can produce mold.
Drainage holes are necessary so that extra water can drain away and save your plant and soil from becoming moist.
Different Ways to Add Drainage to a Pot:
Many techniques for adding drainage to a pot: The most common methods for adding drainage to your potted plant are three:
- Double Pot:
Put a pot inside another pot that has drain holes. The inside pot can leak water without it getting wet.
- Add Pebbles to the Bottom:
A layer of tiny rocks or pebbles creates an area of open air where water may collect while your soil remains stable.
- Drill Holes in Your Plant:
Drainage holes allow extra water to flow properly.
What I Used to Drill in My Pot:
- Ceramic pot
- Drill
- Masonry bit or diamond drill bit
- Cordless drill
- Awesome plants
- Safety glasses
Step-By-Step Guide to Drill Holes in Ceramic Pots:
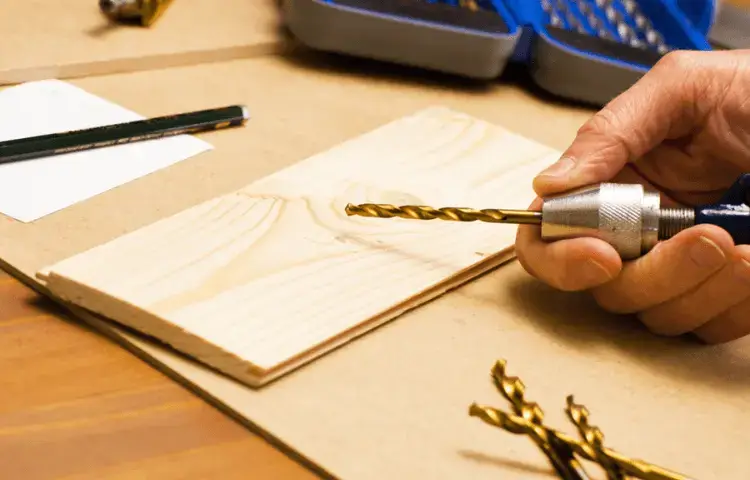
Step 1: Find a masonry bit

First, I decided to use any bit to drill, but my friend, a Gardner, told me to use a masonry bit. So, I used a masonry bit to dig our hole because these bits are specially designed for bricks, stone, and similar materials.
A standard power drill may be used with a masonry bit. It has a bigger tip than ordinary bits, and using moderate pressure while drilling slowly helps you avoid breaking.
However, a diamond drill bit is another option.
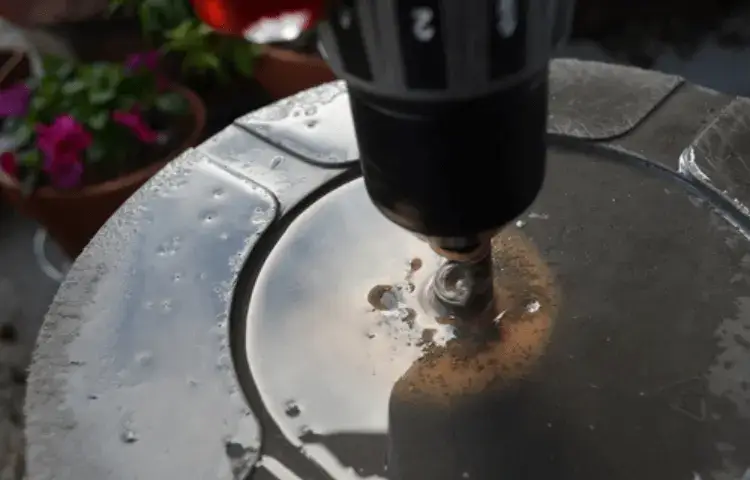
Step 2: Drill your hole
Install your masonry drill bit, then lock it. Wearing eye and facial protection is also an option. I turned my pot on its side and positioned the drill bit’s tip in the middle of it. I then drill slowly to moderately quickly into the ceramic pot while using moderate pressure.
Diamond bits should only be used on wet surfaces, so if you do, be sure to moisten the surface first.
Step 3: Set an angle

Start by holding a drill at a 45-degree angle to point it towards the base of the pot. Then, gently start drilling by pulling the trigger.
Step 4: Straighten out
As soon as you see the drill bit catches, increase the drilling speed and turn the drill to a 90-degree angle. Press down hard to drill the hole correctly.
Step 5: Hole size according to your need

I just make a little hole, but you may use a larger drill or numerous smaller holes to make a larger hole. If you do many holes, then make sure these holes are not too close to one another; otherwise, there are a lot of chances for our ceramic pot to break down into pieces.
Step 6: The drill according to your pot thickness

Make careful to blow off the collecting ceramic dust if your pot is fairly thick. As my pot was small, I could swiftly drill in one motion. It takes roughly 12 seconds to complete. Here is the completed hole.
Step 7: Add your favorite plant
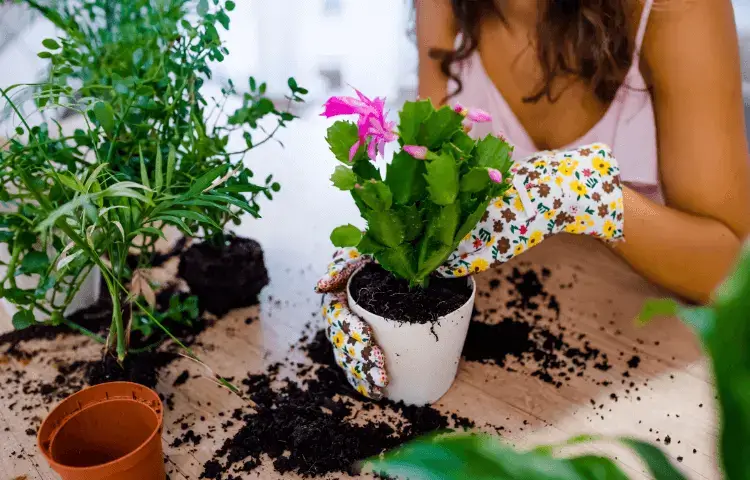
Now you can place your favorite flowers in it but before, add fresh soil. Additionally, you can modify the soil with tiny pebbles or stones. Place a tray under the pot if you intend to keep the plant indoors to prevent additional water from seeping out.
Tips:
- If you drill holes in your indoor plants’ pots, be careful not to spill water on a shelf or floor; instead, place the plants on a saucer or drip tray.
- When the drill bit had completed the hole, and we continued to apply excessive pressure, the massive drill body might potentially break the pot.
- To start, go slowly, and when the hole is all the way down, pause pressing.
- Start with tiny holes, then drill a larger one on top if you want larger ones.
Frequently Asked Questions:
Bottom Line:
Drilling a hole in a ceramic pot is not as difficult as it may seem. With the right tools, a bit of patience, and a steady hand, anyone can do it. Plus, the process allows you to customize your pot in a way that best suits you and your plants


