
The topic of how to drill into metals is a common one that leaves most people feeling frustrated. People frequently believe the task requires using a solid drill and drill bits specifically designed for metal because metal is generally considered tougher than most other surfaces.
Even if the surface is somewhat challenging, it is still feasible to drill through metals with a standard cordless drill. However, you will need to use specialist drill bits to do this. These drill bits will guarantee that you get the outcome you want without causing any damage to the drill or any of its components.
In this tutorial on how to drill into metals, we offer helpful hints about the sort of drill bits that should be used for the task. We also provide a handbook that walks you through each stage of the process of drilling into metals.
How to Drill Hole in Metal?
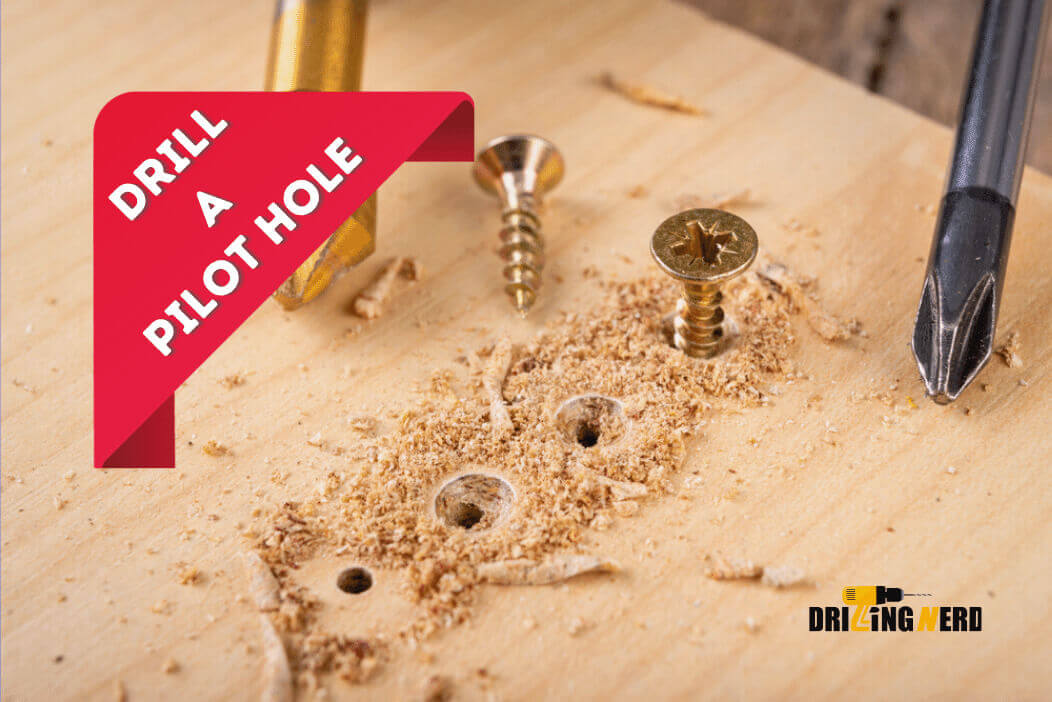
Step 1: Use a Sacrificial Board

A sacrificial board is a piece of scrap wood in the shape of a flat panel placed underneath, on top of, or both of the objects you are drilling. When you make the hole, you dig through or into the sacrificial board, which is the sacrifice.
When drilling holes in thin metal sheets, it is helpful to anchor the metal to a piece of replacement plywood (or another flat sheet product, such as MDF or particleboard) so that the bit does not tear up the hole. Clamping a pair on top of the metal to make a sacrificial sandwich will produce the spot with the least amount of debris.
Step 2: Make a Dimple

Drill bits are sometimes hesitant when dealing with metal. It’s also possible that they’re easily sidetracked or simply plain unmotivated. In any event, as soon as the drilling begins, they tend to leave the area.
Utilising a pointed punch and a hammer, you may avoid this problem by creating a tiny depression in the metal at the mark you made for drilling. A little, firm nail will work in a pinch.
All that is required is a slight depression large enough for the drill bit’s point to fit into. It will assist in maintaining the bit’s trajectory until the hole is cut into the material.
Step 3: Add Oil

Much friction is generated when a metal bit cuts through metal material. Friction creates heat, and heat quickly dulls drill bits.
Before drilling into the metal, you should apply a few drops of cutting oil, 3-in-1 oil (also known as home oil), or motor oil (such as the 10W-30 or 10W-40 you use in your car), which will help to decrease heat and friction. While drilling, you may need to inject oil many times if the hole is enormous.
Step 4: Drill Slow and Low

That entails reducing the speed of the drill and lowering the pressure. Most exercises ought to be done at roughly half rate or slower; the more significant the bit, the slower the bit’s spin speed ought to be.
Keep the pressure on the drill low to moderate, and allow the bit to handle most of the job. Extra heat is generated when you drill too quickly and press down too hard on the drill, which quickly dulls the bits.
Step 5: Handling Smoke while Drilling Metal
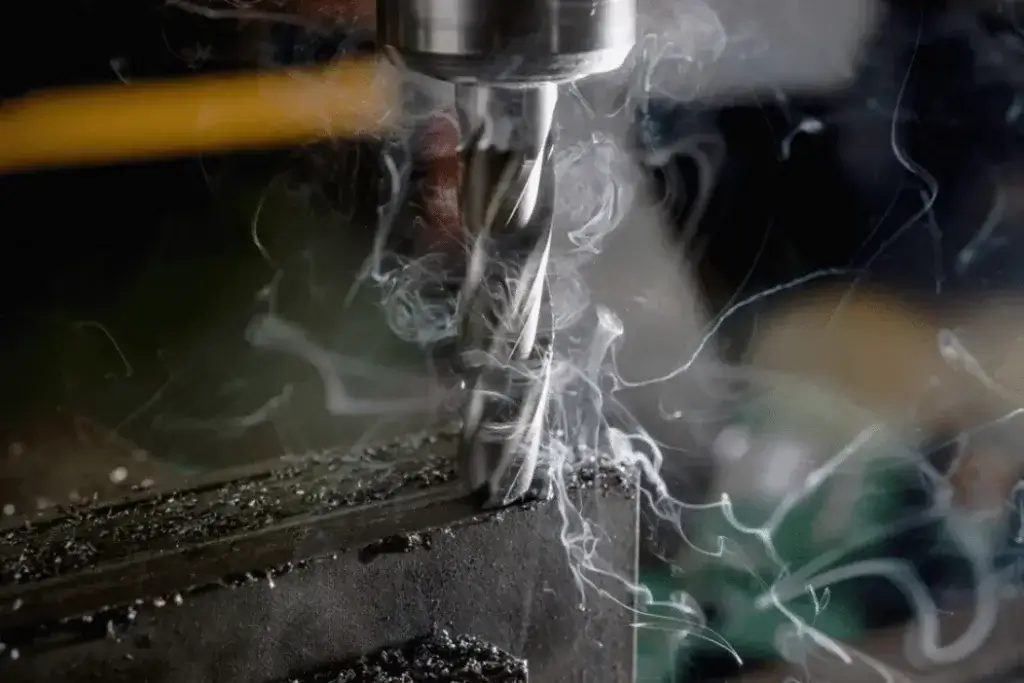
When you see smoke, it means that the temperature is rising too high, that you are drilling too quickly or too forcefully, or that you are not using enough oil. If you detect smoke, you need to stop shooting immediately, let the bit cool down, add some more fat, and then begin again, drilling more slowly and at a lower rate.
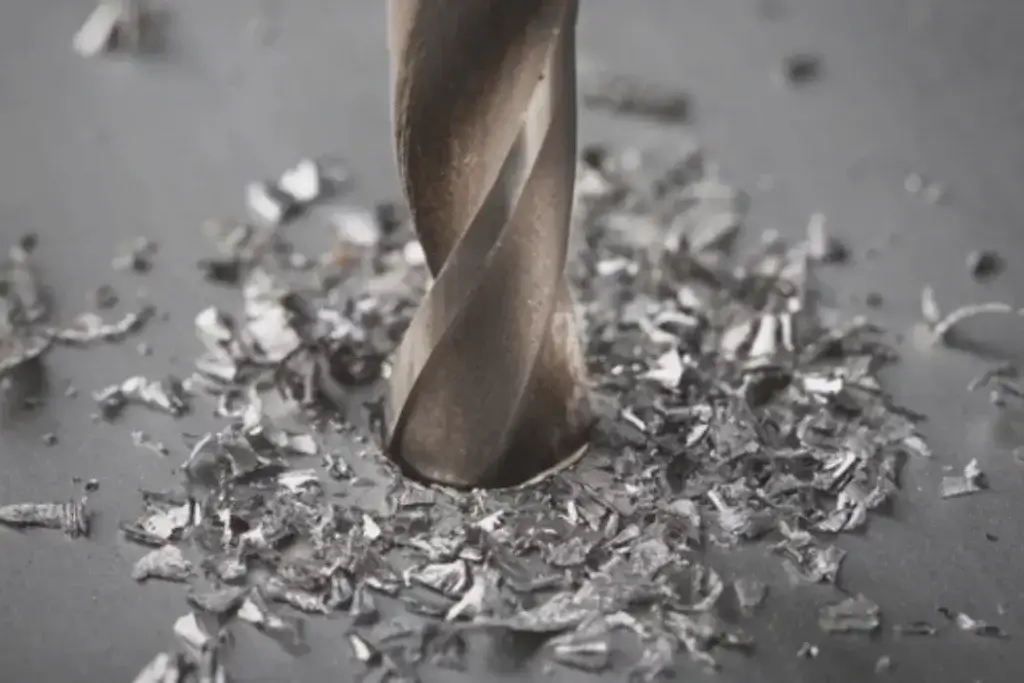
Step 6: Start Small
Drill bits create holes by removing material off the target material’s edge, analogous to peeling an apple with a knife. Because of their vast surface area, significant bits have difficulty biting into the metal to form shavings; as a result, the drilling operation can be significantly slowed down.
To get things forward more quickly, begin with a minor bit and work your way up to the desired hole size in progressive steps. For instance, if you require a hole that is 1/2 inch in diameter, start using a bit that is 1/8 inch in diameter, and then increase the size by 1/4 inch, 3/8 inch, and then 1/2 inch.
Some metals allow for more significant jumps, but it’s too huge if you can’t see the bit cutting into the hole’s edge. More significant jumps are possible in some metals.
Step 7: Clean Up the Hole
After drilling, if the hole still has a jagged edge, you may smooth it out by using a drill bit slightly wider in diameter than the hole itself. Place the bit within the opening, then manually rotate it to remove the metal shavings.
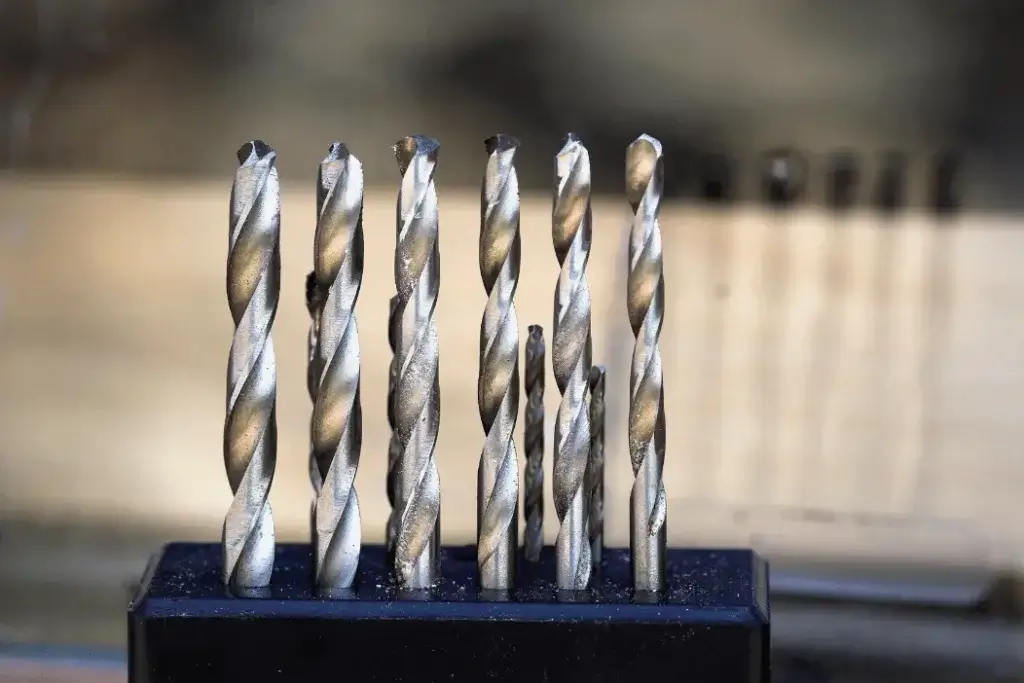
How to Determine If a Drill Bit Is Designed for Metal?

Many forms are available for drill bits, but only two types are suitable for drilling metal. Bits such as Forstner, spade, brad point, and countersink can make drilling thru wood and plastic much quicker and simpler.
However, to drill through metal, you will need either a step bit, which can be used on soft metal or a twist bit. Step bits are used for drilling through soft metal. Not all twist bits are designed for use with metal; some are designed solely for masonry, while others are designed solely for use in wood or plastic.
A Hue Resembles That of High-Speed Steel:
Steel is the only material that can be used to make drill bits, and while traditional steel bits exist, high-speed steel bits are superior to them. You’ll recognise an HSS bit by its distinctive black hue, in contrast to the chrome finish of a standard steel bit.
Even high-speed steel (HSS) bit can wear out rapidly when drilling into more brutal metal. If this is the case, you may require a bit composed of tungsten carbide or titanium instead.
Metal boring bits get their distinctive black or blue-grey color from a coating of either titanium carbo-nitride or black oxide, which are meant to minimise friction and lengthen the bit’s helpful life. Titanium nitride, a protective layer, is the colour gold and is used in manufacturing several metal-boring tools.
The Angle of the Tip:
Wood-boring bits often come equipped with a brad point, which enables the operator to centre the bit and stops the bit from straying while it’s being used. The extra-wide flutes of brad-point bits are designed to splay out at an angle of 180 degrees relative to the direction in which the bit is drilling; this allows the bit to swiftly remove material and speed up the process of preparing a hole.
Masonry bits do not have a brad point, but they have flutes that are pretty broad and spread out. The end of a masonry bit is often constructed of carbide steel, which gives it the strength to withstand the pressure applied while drilling into rigid materials like brick, stone, and concrete.
Drill Bits for Boring Metal:
Metal-drilling bits feature flutes that taper to a tip at an angle of either 118 or 135 degrees, depending on the manufacturer. Bits with a point angle of 118 degrees are referred to be general-purpose bits, but bits with a point angle of 135 degrees are self-cleaning.
This implies that the bit will shed metal shards rather than allow them to gather around the shank. Metal boring bits with a 135-degree angle are meant to work similarly to brad-point bits in that they inhibit straying at the beginning of the bore. The diameter of metal-boring bits can range anywhere from 1/16 to 1/2 of an inch.
How to Select the Appropriate Metal-Boring Bit?
Because certain metal-boring bits are designed for drilling through harder metals but might cause damage to thinner metals, it is essential to select the appropriate bit for the task at hand.
- Choose a 135-degree flute bit produced from any material other than cobalt if you work with light metals, including sheet metal. When all else fails, a 118-degree bit will do the trick.
- When working with high-alloy steel, select a bit made of cobalt or titanium nitride with a 135-degree flute angle.
- Cast iron requires a bit made of cobalt and with a 135-degree flute angle.
- Choose an all-purpose bit or a typical HSS one with a 118-degree flute if you work with aluminium, brass, or copper.
Bottom Line:
Drilling into metals is a complex and challenging task, but it is not impossible by any stretch of the imagination. You may hit a clean hole through any metal so long as you use a cordless drill, the appropriate sort of drill bits, and follow the protocol.
By gripping your metal, proceeding slowly, and using little pressure, you should be able to drill a clean hole in it regardless of the type of metal you are working with, whether it be a soft metal like aluminium or a strong metal like stainless steel.


